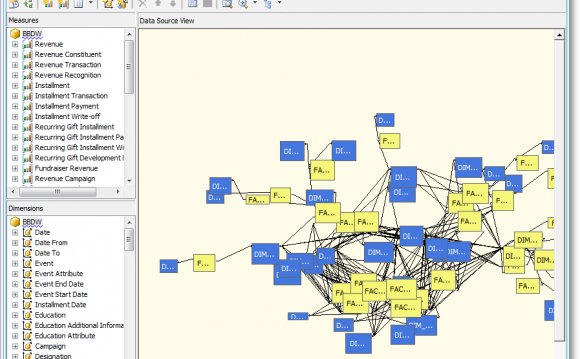
Most of your time using SQL Server Data Mining will be spent in the Business Intelligence Development Studio (BI Dev Studio). This environment is integrated into the Microsoft Visual Studio (VS) shell to provide a complete development experience for business intelligence operations. Working inside Visual Studio, a data mining project becomes part of a collection of projects known as a "solution." Additional projects required for your application can be grouped together into this cohesive solution. For example, a database administrator (DBA) might create an Integration Services project to pull the data out of your OLTP system and transform it into a form suitable for data mining. An analyst could create an Analysis Services project containing models that explored and examined the transaction data. Finally, a developer could create a Web service and a Web site, embedding these models in an end-user application and commercializable service. All of these projects can be contained inside a single solution encompassing the entire body of the collaborative work. Furthermore, all aspects of the work can be captured with complete version histories in the source control system.
Understanding the User Interface
The BI Dev Studio is designed mainly for developers, with an unstructured approach to solution implementation, which is very different from traditional data mining tools. This approach, along with the added complexity from the fully featured development environment, can be daunting to those familiar with other data mining toolsets. However, once you get past the initial shock of dealing with the myriad of options and windows inherent in Visual Studio, creating and analyzing models is fairly simple. The first step in familiarizing yourself with the BI Dev Studio is understanding which of the various parts of the user interface are interesting and for what they are used.
The most important parts of the BI Dev Studio are:
Solution Explorer: Solution Explorer is where you manage your solution and projects. All objects are created and managed in this window. To add objects to your project, you right-click the project name and select Add New Item, or right-click on a particular folder and select New. Doing so will launch a dialog or wizard, allowing you to create the specified object.
Window tabs: The Window tabs allow you to quickly switch between designer windows. A tab will be displayed for each object or file that is currently open. If more objects are open than can appear in the tab area, additional windows can be accessed using the down area to the right of the tabs.
Designer window: The Designer window is where you edit and analyze your objects. Creating a new object or double-clicking on an object in Solution Explorer will open that object's specific designer, allowing you to modify and interact with the object.
Designer tabs: Many objects have different aspects that can be edited or interacted with. These aspects are indicated by tabs within the Designer window.
Properties window: The Properties window is a context-sensitive window that displays properties for the currently selected item. This is a general concept in Visual Studio and applies to any type of operation performed within the studio. For example, selecting an object in Solution Explorer causes properties of that object, such as object ID, filename, and so forth, to be displayed. Selecting a column in the Data Mining Designer window causes column properties, such as name and data type, to be displayed. When an item that has no properties is selected, the property window will be empty.
INTERESTING VIDEO


